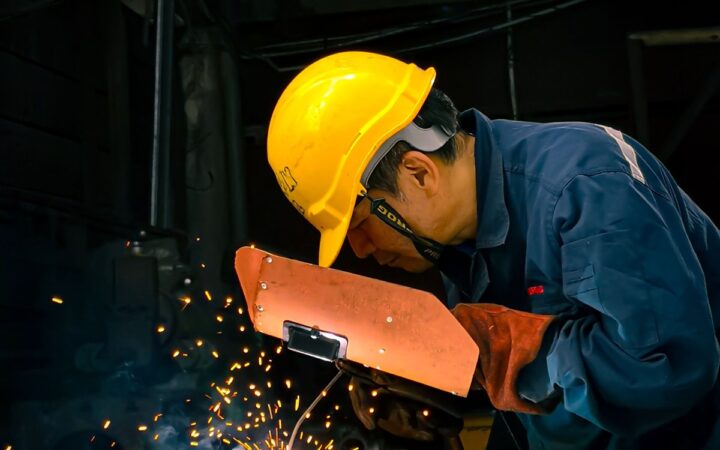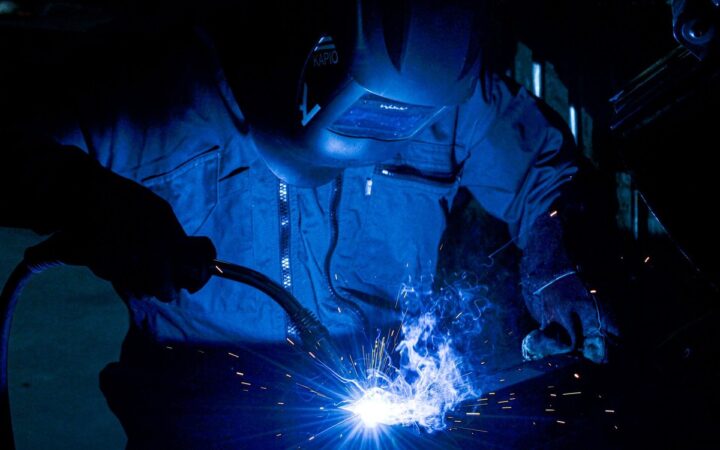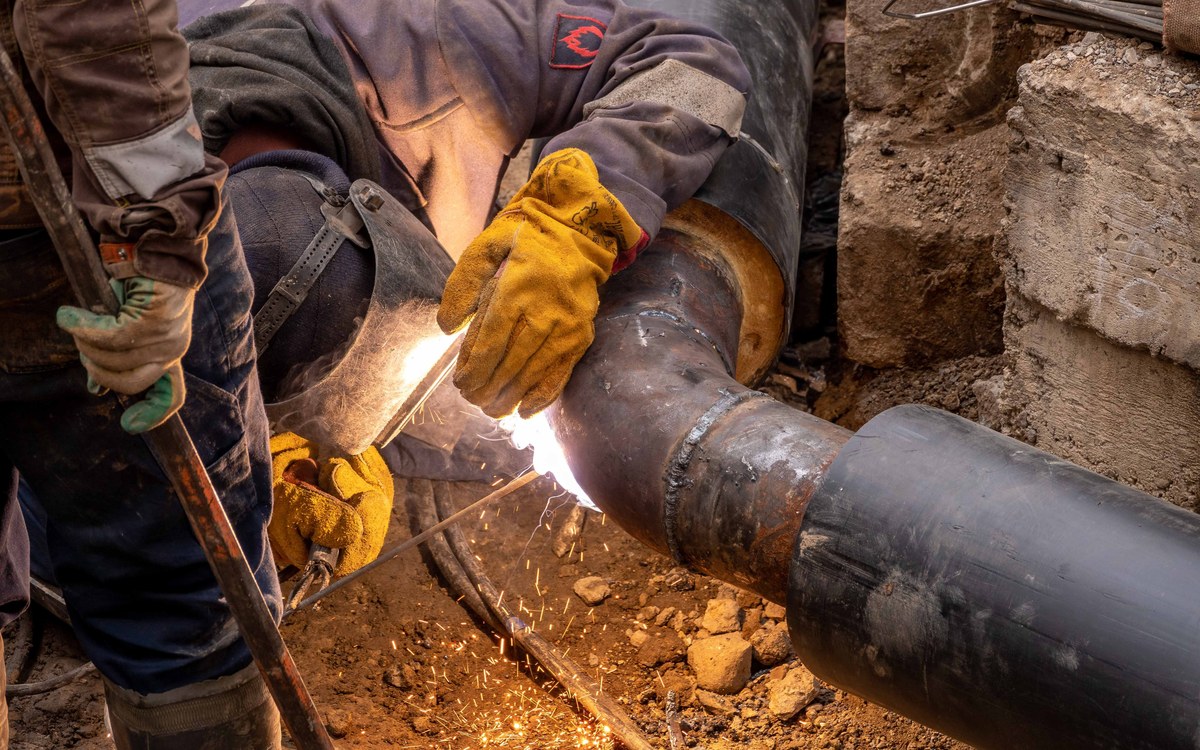
Every weld is made in a position, and the position changes everything: how gravity pulls on the molten metal, how hard the weld is to control, and whether a welder is qualified to make it. A flat weld on a bench is the easiest weld there is. The same joint welded overhead, with the welder lying underneath it, is one of the hardest. That is why welders, inspectors and welding schools all use the same short codes — 1G, 2G, 3G, 4G, 5G and 6G — to describe exactly where and how a weld is made.
Welding positions 1G 2G 3G 4G explained: 1G is flat, 2G is horizontal, 3G is vertical and 4G is overhead, with G for a groove weld and F for a fillet weld. Pipe adds 5G (fixed horizontal pipe) and 6G (pipe at 45 degrees). Flat is easiest because gravity helps; overhead is hardest because gravity pulls the molten metal out.
What Is a Welding Position?
A welding position describes the orientation of the weld joint relative to the ground and therefore relative to gravity — while the weld is being made. It is not about where the welder stands. It is about which way the joint faces and which way the weld travels.
Gravity is the whole story. Molten metal is a liquid, and like any liquid it flows downhill. In the flat position the weld pool sits in the joint and gravity holds it there. In the overhead position the pool hangs underneath the joint and gravity tries to pull it out. Everything about technique — travel angle, amperage, weave pattern, travel speed — is really about managing that one force.
Positions matter for three practical reasons. First, they decide how difficult a weld is and how it should be made. Second, welding procedures (WPS) and welder qualifications are written per position: a welder qualified in the flat position is not automatically qualified to weld overhead. Third, they are the language of welding training and certification exams.
How Position Codes Work
Welding positions use a simple code from the American Welding Society (AWS): a number followed by a letter.
The number (1 to 6) is the position. 1 is flat, 2 is horizontal, 3 is vertical, 4 is overhead, and 5 and 6 are pipe positions. The higher the number, the harder the position — with one important exception explained below.
The letter is the weld type. G stands for groove weld, where two pieces are joined edge to edge, usually in a butt joint with the edges bevelled into a groove. F stands for fillet weld, where two pieces meet at an angle, usually in a tee, lap or corner joint. So 1G is a flat groove weld, 3F is a vertical fillet weld, and 2G is a horizontal groove weld.
Plate and pipe use the same numbers differently. This is the detail that confuses most beginners. On plate, 1G means the plate lies flat and the welder works from above. On pipe, 1G means the pipe lies horizontally and is rotated while the welder stays at the top — the weld itself is still made in the flat position, because the pipe turns under the arc. A 2G groove on a plate is a horizontal seam on an upright plate; a 2G groove on a pipe is a horizontal seam around a vertical, fixed pipe. Same code, different setup.
Welding Positions Chart
This is the full reference chart. Keep it beside you while you read the sections below.
| Code | Position | Plate or pipe | What to picture | Difficulty |
|---|---|---|---|---|
| 1G / 1F | Flat | Plate (1G pipe: rotated) | Joint faces up, weld from above | Easiest |
| 2G / 2F | Horizontal | Plate and pipe | Seam runs sideways, joint face upright | Moderate |
| 3G / 3F | Vertical | Plate and pipe | Seam runs up or down | Difficult |
| 4G / 4F | Overhead | Plate and pipe | Joint above the welder, weld from below | Very difficult |
| 5G | Horizontal fixed pipe | Pipe only | Pipe horizontal and fixed, weld all the way around | Difficult |
| 6G | Inclined fixed pipe | Pipe only | Pipe fixed at 45 degrees, weld all the way around | Hardest |
A 6G test qualifies a welder for every position, which is why it is the standard pipe welder qualification test. A 3G test qualifies a welder for flat, horizontal and vertical — but not overhead.
Plate Positions: 1G/1F to 4G/4F
1G/1F — Flat Position (Easiest)
The flat position is where every welder starts. The plate lies horizontally, the joint faces upward, and the welder works from above, looking straight down at the weld pool. Gravity works with the welder here: it pulls the molten metal down into the joint, giving deep penetration and a smooth, even bead.
Flat welding allows the highest amperage and the fastest travel speed of any position, and it produces the best-looking welds with the least effort. Most shop fabrication — bench work, beams, base plates, large sheets — is done flat whenever the work can be turned over or positioned that way. The process matters too — see our guide to MIG vs TIG welding to compare how each process behaves in different positions.
For pipe, 1G is the horizontal rolled position: the pipe lies horizontally and is rotated, by hand or by machine, so the welder always works at the top of the pipe.
Technique tips: use a drag angle of about 15–20 degrees with stick welding, keep a steady travel speed, and let gravity do the work — there is no need to weave wide on a flat butt joint. This is the position to learn bead control, arc length and travel speed before moving on.
2G/2F — Horizontal Position
In the horizontal position the weld axis runs sideways, but the face of the joint is upright. Picture a seam running left to right across a vertical wall. Gravity now pulls the molten pool toward the lower edge of the joint, so the top edge can undercut while the bottom edge sags.
This is the first out-of-position weld most students learn, and it teaches the skill that every harder position depends on: controlling a weld pool that wants to slide downhill. The fix is a slight upward work angle — point the electrode or torch about 5–15 degrees upward — and a slightly lower amperage than flat, with a faster travel speed on the upper edge of the puddle.
A 2F horizontal fillet is the classic example: an upright plate meeting a horizontal base, the weld laid in the corner where they meet. It appears everywhere in structural steel, tanks and frames, where parts are fixed in place and cannot be turned flat.
3G/3F — Vertical Position
In the vertical position the seam runs up and down, and the welder travels vertically. There are two ways to do it, and they are not interchangeable: vertical-up and vertical-down.
Vertical-up (3G uphill) travels from the bottom of the joint to the top. Each small deposit of metal freezes into a shelf that supports the molten pool above it, which gives deep penetration and a strong weld. It is slower, uses a weave — often a triangle or zigzag pattern — and is the method used for structural work, pressure vessels and anything that must be strong. Vertical-down travels from the top down. It is faster and gives a flatter, neater bead, but penetration is shallower, so it is used mainly on thin material and for root passes on pipe, where speed matters and the joint is backed by the pipe wall.
Which direction you weld is decided by the welding procedure, not by preference. A procedure that calls for vertical-up cannot be swapped for vertical-down on the job.
Technique tips: for vertical-up, use a triangular weave with a brief pause at each side of the joint and a quick pass across the middle; keep the amperage about 10–15% lower than flat. For vertical-down, use a straight drag with a fast, steady travel speed and a short arc.
4G/4F — Overhead Position
Overhead is welding from underneath the joint, with the welder looking up and the molten metal hanging above them. It is the hardest of the four plate positions, and the only one where gravity works entirely against the welder. The pool wants to drip out of the joint, spatter falls downward onto the welder, and every mistake shows up as a sagging or falling bead.
Overhead welds are needed wherever a structure cannot be turned over: the underside of beams, fixed ceilings, repairs under machinery and vehicles. Because the work cannot be repositioned, the welder has to be able to do it — which is why overhead is usually the last plate position taught, and why it is tested separately in qualification.
Technique tips: use the lowest workable amperage — typically 10–15% below the flat setting — keep a very short arc, and use a small, tight weave or stringer beads. Wear full protective gear: falling spatter will find any gap in clothing.
Pipe Positions: 5G and 6G
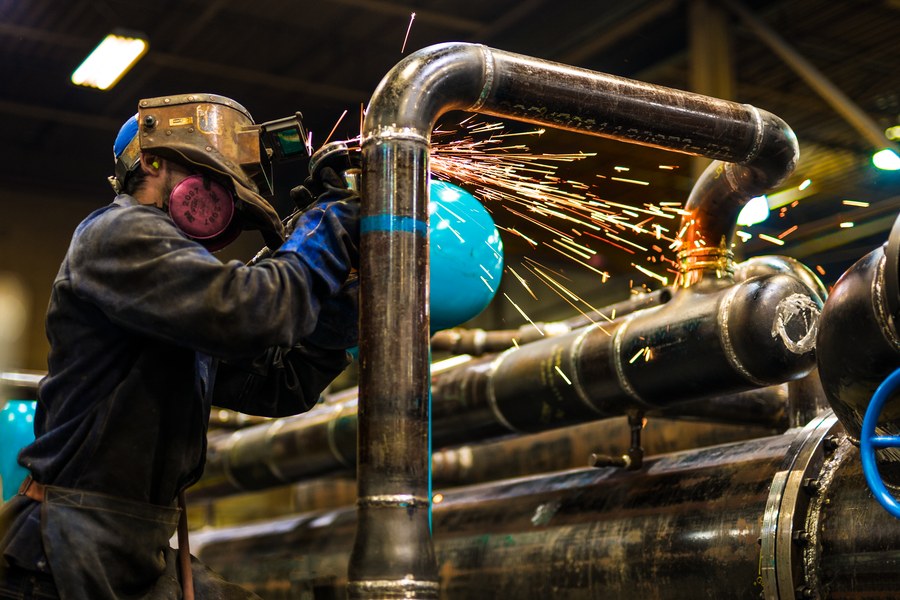
5G — Horizontal Fixed Pipe
In 5G, the pipe is horizontal and fixed — it cannot be rotated. The welder must weld all the way around the circumference, which means the position changes as they move: flat at the top, vertical on the sides, overhead at the bottom. A single 5G weld contains all four basic positions in one joint, which is what makes 5G the standard test for pipeline and fixed-pipe work. Root passes on pipe are often made vertical-down with cellulosic electrodes such as E6010, while fill and cap passes go vertical-up.
6G — Inclined Fixed Pipe (Hardest)
In 6G, the pipe is fixed at a 45-degree incline and cannot be rotated. The welder must weld around the full circumference at an angle, which means every point on the joint is a different combination of positions, none of them flat. It is the hardest standard position and the most respected test in pipe welding.
Passing a 6G test qualifies a welder for all positions — plate and pipe, groove and fillet. That is why employers ask for it, and why welding schools treat it as the final exam. A related test, 6GR, adds a restriction ring around the pipe to simulate the tight access of a real tie-in, where the welder cannot get the electrode into an ideal angle.
Technique tips: treat 6G as four positions in one weld. Change your body position, not just your hand angle, as you move around the pipe, and keep the arc short throughout. Most failures happen at the transitions — where the weld moves from vertical into overhead — so slow down and watch the pool at those points.
ISO 6947 Equivalents (for International Work)
Outside the United States, welding procedures often use ISO 6947 letter codes instead of AWS numbers. The two systems describe the same positions, so a welder who knows both can read any procedure.
| AWS code | ISO 6947 | Meaning |
|---|---|---|
| 1G / 1F | PA | Flat (downhand) |
| 2F | PB | Horizontal vertical (fillet) |
| 2G | PC | Horizontal |
| 4F | PD | Horizontal overhead (fillet) |
| 4G | PE | Overhead |
| 3G / 3F (up) | PF | Vertical up |
| 3G / 3F (down) | PG | Vertical down |
The useful distinction is the one the AWS system hides: ISO separates vertical-up (PF) from vertical-down (PG), because they are genuinely different welds with different penetration and different procedures. If a drawing or procedure says PG, it means vertical-down — do not weld it uphill.
Which Position Should Beginners Learn First?
Learn in this order: 1G, then 2G, then 3G, then 4G, then 5G, then 6G. Each position builds on the last. Flat teaches bead control and arc length. Horizontal teaches pool control against gravity. Vertical teaches weaving and heat control. Overhead teaches a short arc and low amperage. Pipe positions then combine all four.
Do not rush to overhead or pipe. Most beginners can lay a decent flat bead after a few practice sessions, but a good vertical or overhead weld takes weeks of practice. That is normal — the positions are a skill ladder, and the qualification system is built around the same order.
For certification, the practical path is: qualify 3G first (it covers flat, horizontal and vertical), add 4G to cover overhead, and take 6G when you want pipe work — because 6G alone qualifies you for everything. Check the requirements of the code you will work under, usually AWS D1.1 for structural steel, before booking a test.
Common Mistakes in Each Position
- Flat: travelling too slowly and piling up a fat, ropey bead.
- Horizontal: undercut on the upper edge from pointing the electrode straight in instead of slightly upward.
- Vertical-up: weaving too wide, so the pool falls out of the joint.
- Vertical-down: using it where the procedure calls for vertical-up, giving a shallow, weak weld on thick material.
- Overhead: running flat-position amperage, which makes the pool too fluid to stay in the joint.
- Pipe (5G/6G): keeping the same body position all the way around instead of moving with the weld.
The fix for almost every out-of-position problem is the same: lower the amperage slightly, shorten the arc, travel a little faster, and let the metal freeze before you add more.
FAQs
Which welding position is the easiest?
The flat position (1G/1F) is the easiest. The joint faces up, gravity holds the molten metal in the joint, and the welder can use higher amperage and faster travel speeds than in any other position.
Which welding position is the hardest?
The 6G pipe position is the hardest. The pipe is fixed at 45 degrees, the welder must weld in every position around the circumference, and there is no flat section to rest on. On plate, overhead (4G/4F) is the hardest.
What is the difference between 1G and 1F?
The number is the position and the letter is the weld type. 1G is a flat groove weld (a butt joint), and 1F is a flat fillet weld (a tee, lap or corner joint). Both are made in the flat position; the joint is different.
What is the difference between 3G and 4G?
3G is a vertical groove weld, made on an upright joint travelling up or down. 4G is an overhead groove weld, made from underneath the joint. 4G is harder because gravity pulls the molten metal out of the joint instead of just along it.
What does 6G mean in welding?
6G means a groove weld on a pipe fixed at a 45-degree incline. The welder welds all the way around the pipe without rotating it. Passing a 6G test qualifies a welder for all welding positions, which is why it is the standard pipe welder qualification.
Can a welder qualified in 1G weld in all positions?
No. A 1G qualification covers only the flat position. To weld out of position, a welder must qualify in those positions: 3G covers flat, horizontal and vertical, 4G adds overhead, and 6G covers everything.